Showing posts with label USA. Show all posts

Saturday, January 16, 2016

#166 Apple Pie


My daughter believes that every body loves apple pie, because it is too good! The marriage of cinnamon, nutmeg, tart apples and sugar is simply irresistible. I made my grain-free and crust free version of "apple pie" after I made this but gobbled it  all even before I could take pictures! LOL!  My daughter loved this recipe and this was my first time making it! The lattice work upper crust was a little bit challenging, but with a lot of patience, it looked like this in the end:


If it's your first time, making it look like this can be tricky in the beginning, but you will soon figure it out. It reminded me of my days back in the islands. Every summer, the neighborhood kids (myself included), gathered to build a makeshift shelter from twigs and fallen coconut leaves. There were no video games, no good shows on TV, so we went out to entertain ourselves. We wove the coconut leaves to create walls, and roof and then we'd attach it to a small tree, we worked for days until it's complete and then we'd boil bananas in there too using fire and pots, our aunties and maids hoping we don't start a huge fire in smoldering and humid 100+ F degree weather... Fun times. That experience came handy as I was trying to figure out how to make lattice apple pie crust. :) I used my fingers to create the patterns on the edges. 


It is suggested to use tart apples for Apple Pie. Or ones that are considered "culinary apples", they are more acidic and crispier. Examples are: Bramley, Empire, Northern Spy or Granny Smith. I chose organic Granny Smith apples for this pie because among the list, it was the only one available at Safeway, and although I used the organic variety, it is not necessary that you buy organic. I just choose to eat organic as much as possible.


I also learned that there are different styles of Apple Pie. The traditional Dutch Apple Pie comes in two varieties: a crumb, and a lattice style pie.  A recipe in the late medieval Dutch cookbook 'Een notabel boecxken van cokeryen' is almost identical to modern Apple Pie recipe such as the one I used. Dutch apple pies may contain: full cream butter, raisins and almond paste. Those are not used in this pie.  There are also the English Pudding Style, French Style, Swedish Style and American Style. I will have to do more research on the different varieties. Read more here, but the information on that website may not be completely accurate...please feel free to leave a comment to educate us on the history of apple pie. We'd appreciate it!


And guess what? We found an organic ready-made pie crust at Safeway! It made the process of learning so much easier. I still have not invested in a KitchenAid mixer, a staple in every enthusiastic cook's kitchen. So making my own crust from scratch seemed daunting at the time. We grabbed and used this, and my daughter said, "It tasted like normal crust". :)


Okay,  are you ready to make your own apple pie? Here's how:

APPLE PIE 
Ingredients: 
2 ready made rolled crusts (1 box) for 9" pie
1/2 cup unsalted butter
3 tablespoons all-purpose flour
1/4 cup water
1/2 cup white bakers sugar
1/2 cup baked brown sugar
3/4 teaspoon ground cinnamon
1/8 teaspoon ground nutmeg
8-10 granny smith apples 
Directions:

  1. Preheat oven to 425 F.
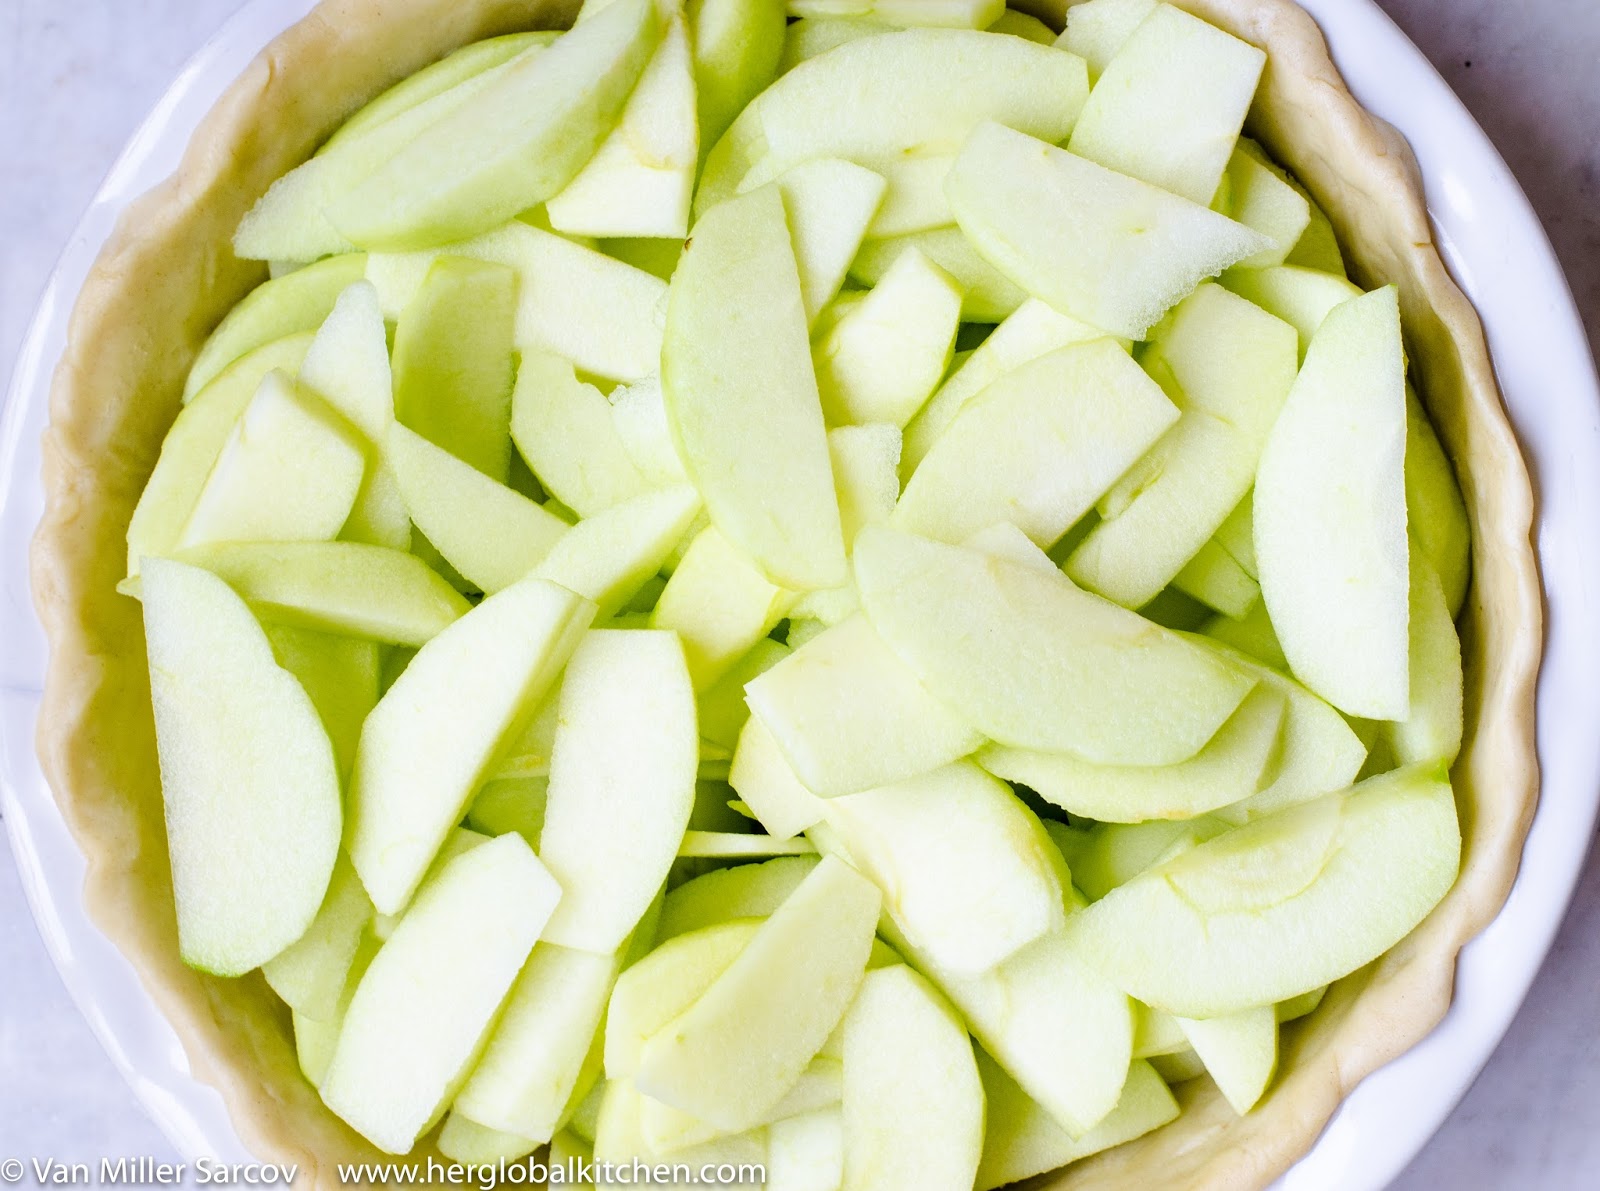
  2. Peel, core and slice the apples. In a large bowl, place apples, sprinkle cinnamon and nutmeg and mix well, making sure all apples are well-coated.
  3. In a pan, add butter in low heat. Once melted, stir in flour.
  4. Add water, white and brown sugar and bring to boil. Reduce heat and let simmer for about 3 minutes or until sugar is melted.
  5. In a 9" pan, place the bottom crust. Add the apples, pile up slightly.
  6. Cover with a lattice work crust.
  7. Pour the melted butter and sugar over the crust carefully.
  8. Bake for 15 minutes at 425 F, then reduce the temperature to 350 F and then bake for another 40 minutes or until the apples are soft.
  9. Serve warm and enjoy with Vanilla Ice cream (highly recommended!)


It is so easy to make, it is the first of many!
If you enjoyed this post, follow this blog as we will be posting 199 more recipes!199 recipes to discover, learn to cook, take pictures and post here to complete the goal of 365!
 Will I finish this big task? Check back often to see my progress!

xo V.

#165 Ahi Poke


Ahhhhi Poke. This was sooo good. A little similar to Philippines' Kinilaw, but the toasted sesame seeds gave it a good twist that I oh so love.  It is a traditional Hawaiian food served in many homes,  as an appetizer. Poke is fish salad, the most popular fish used is the raw yellow fin tuna, but raw octopus, salmon and shellfish can also be used to make Poke. I was ecstatic to find gluten-free soy sauce and that's what I used in this dish.  I left out the macadamia nuts as suggested in many recipes, because of our allergy to tree nuts. Tasted great and I will be making one again very soon!

AHI POKE  
Ingredients: 
2 pounds cubed raw tuna fish steaks
1 cup gluten-free soy sauce
3/4 cup chopped green onions
2 tablespoons sesame seed oil
1 tablespoon toasted sesame seeds
1 tablespoon crushed red pepper  
Directions:
  1. Combine all ingredients
  2. Chill for atleast 2 hours before serving.
  3. Enjoy!
Recipe adapted from here


Wednesday, June 19, 2013

#143 We made delicious Donuts for the first time! Move over, Krispy Kreme!


Goodness,  how delicious it was! I am craving for it.  My advice to first time donut makers who will use the recipe I will share? Eat in moderation (if you can) or say goodbye to your low fat diet. Lol. This recipe yields many, soft, sweet, tempting and  amazing donuts. It is easy to make, but requires patience since it is yeast based, so it will take a few hours to finish, but well worth the wait! I learned that a gap of at least 2 inches is needed between the donuts during the second proofing. Mine grew too big and stuck with each other so I had to punch it down and formed it again before adding it in oil. I didn't think it would turn out alright since I did that last minute dough punching, but it expanded once it is fried and huge donuts came floating before  my eyes. It was a happy dance moment. And another thing, do not fry it in temperatures more than 350 F degrees, a candy thermometer is not expensive and it's worth getting or you could end up with a burned donut that is uncooked inside, or  too crispy ones for frying it too long.  I am also posting the recipe for the glaze, I skipped it and used sugar instead, which is how I like my donuts. "Yay, we made our very own donuts", said my adorable fan. It was a great first try, and this recipe will  save me long drives to the donut store whenever she wants it. They say we become our mothers, I totally agree, but I do  feel like I am becoming my grandma Ina Anselma too, my grandma and my mother are two of the most hardworking women I know; Ina, was super creative and made very delicious soft pilipits which she sold in the streets at one point in her life, and she made it everyday. Pilipit is a Filipino twisted fried bread that tastes like donuts. Sometimes it is crunchy on the outside, sometimes really soft. So I always call it twisted donuts. I am nowhere near Ina Anselma's baking skills, I tried making pilipit using this dough but it was so difficult! I need more practice! I am glad I used this recipe for making it the first time, the donuts were excellent, even better than Krispy Kreme! I'm sure if I made the glaze too it would have tasted beyond incredible...isn't this generation so spoiled? we can make any food we want if we are willing to work for it; I cannot imagine living in my grandma's era in her youth, how did she learn to make fantastic donuts and pilipits? And the energy she had to make it every morning!,  kneading by hand before the sun rises so she can sell to the streets in the morning, is amazing. We are very blessed with so much information and technology, and I never forget to give thanks everyday.  :) 

Yield: 39 pieces

DONUTS

Ingredients:

For the donuts:
3 (1/4 ounce / 7g) packages yeast
1/2 cup (120ml) water  (105-115F / 40-46C)
2 1/4 cups (530ml) milk, scalded, then cooled
3/4 cup (169g) sugar
1 1/2 teaspoons salt
3 eggs
1/2 cup (113g) shortening
7 1/2 cups (940g) all-purpose flour
canola oil for frying

For the glaze
1/2 cup (113g) butter
3 cups (375g) powdered sugar
2 1/4 teaspoons vanilla
6 -9 tablespoons (90-135ml) evaporated milk (can substitute regular milk or water for milder flavor)

Directions:
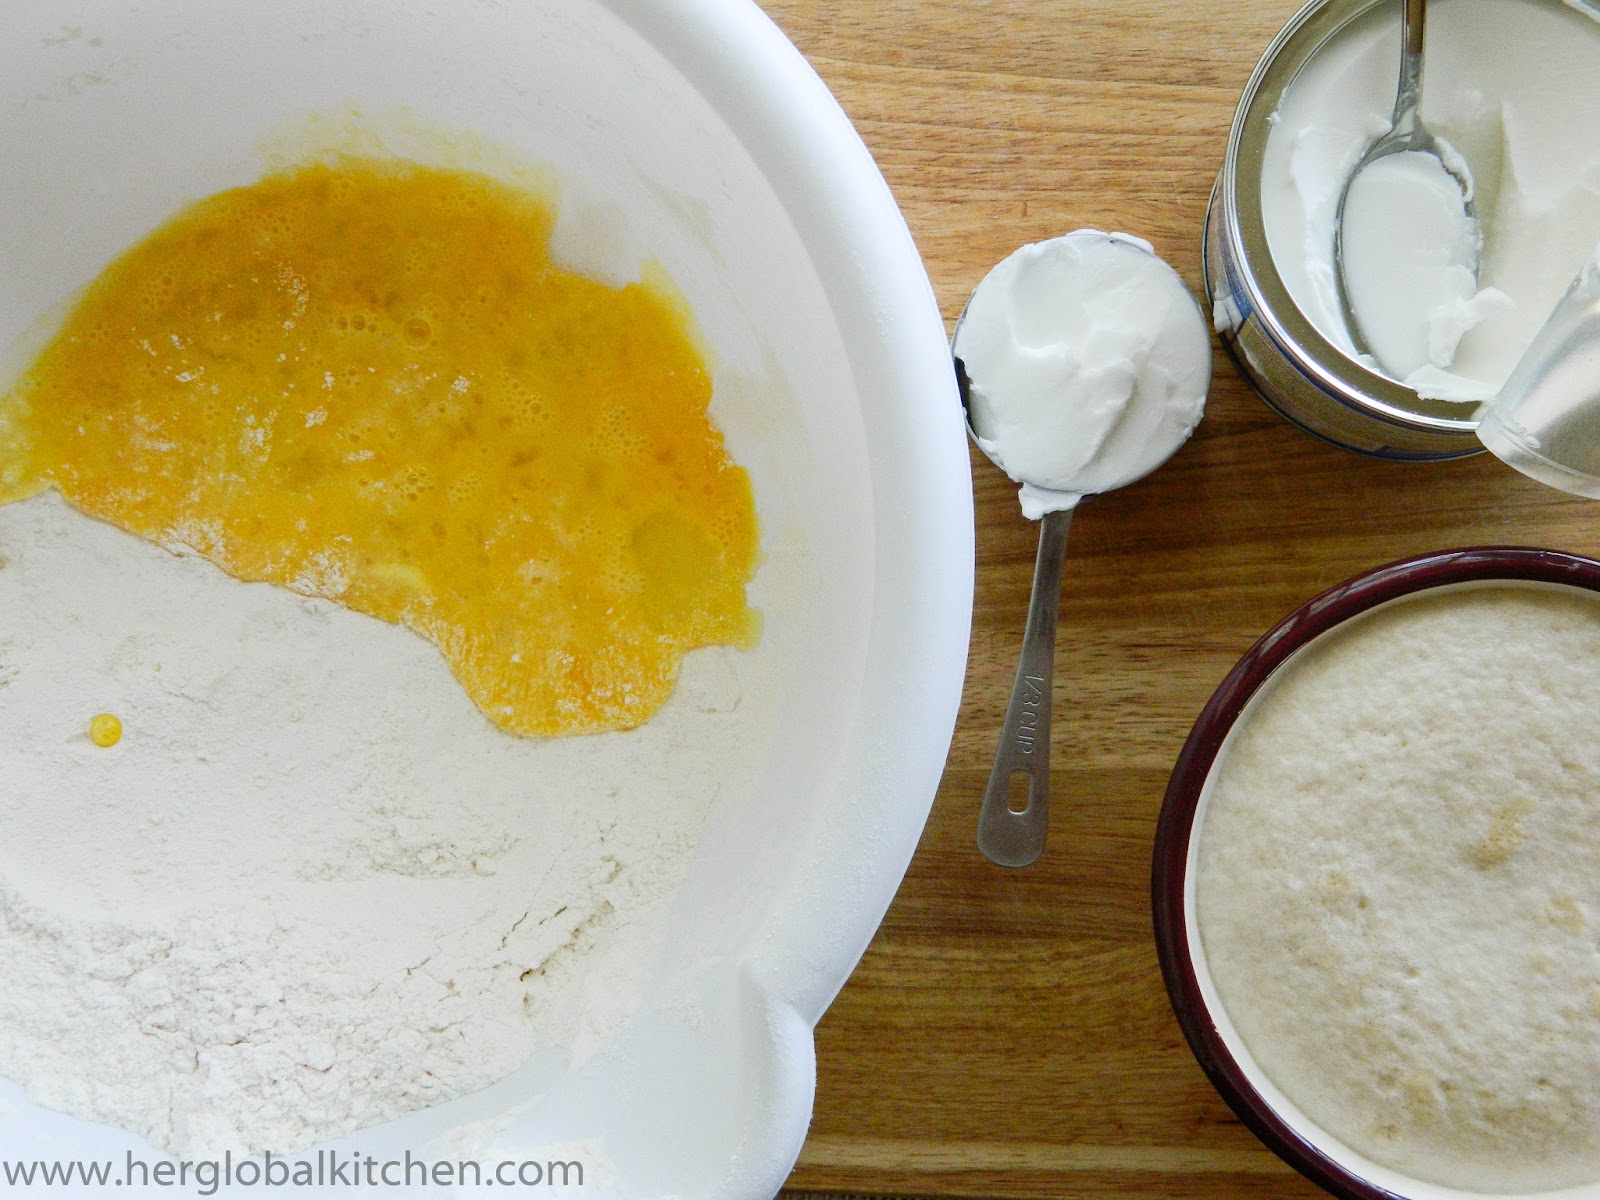
  1. Proof your yeast by adding it to the warm water.  Mix it up and let it rest
  2. Scald the milk in your microwave or on top of your stove, and let cool.  I learned from a baker that the reason you scald the milk is because regular milk has an enzyme in it that will kill the yeast. If you don't scald it first to kill the enzyme, your donuts won't rise.
  3. Combine yeast, milk, sugar, salt, eggs, shortening and 3 cups (375g) flour.
  4. Beat on low for 30 seconds, scraping bowl constantly.
  5. Beat on medium speed for 2 minutes, scraping bowl occasionally.
  6. Carefully, stir in remaining flour until smooth.
  7. Cover and let rise until double for 1 hour
  8. After the dough has risen, turn dough onto floured surface; roll around lightly to coat with flour.
  9. Gently roll dough 1/2-inch thick with floured rolling pin.
  10. Cut with floured doughnut cutter, or using your hands, form a round ball, flatten it, make a hole in the middle and shape it into a donut. (I made mine using hands.) 
  11. Cover and let rise until double, 30-40 minutes.  
  12. Make the glaze: Melt the butter and stir in powdered sugar and vanilla until smooth.  Add milk (or water) until desired consistency is reached.  To make chocolate glaze, melt 6 ounces of chocolate along with the butter.
  13. Heat your oil to 350F (180C).  A thermometer makes this part fool-proof, and you can monitor the heat to make sure it stays in this prime frying range. Even after you take the donut out of the oil, the remaining oil on it is hot enough to continue cooking it! Carefully place the donuts in the oil.  Cook on each side for about one minute.  Use chopsticks to flip the donuts and remove them from the oil.
    Place donuts on a rack or paper bags or paper towels to drain.
  14. Dip them in the glaze and set them on a rack to dry. Or you can coat them in sugar just like what I did.
Recipe adapted from here


 Donuts originated in the United States. Read more


No need to buy donuts! :) This is perfect!


Saturday, June 1, 2013

#134 Oatmeal Apple Crisp


We made this last sunday, and it was delicious. Just a little too sweet for me, but it's a great breakfast dish or snack and is perfect with coffee or tea. I  did not have the brown sugar, so my topping is lighter than it should be. But even with white sugar, it was delicious! The recipe below calls for brown sugar and I also reduced the amounts to balance the sweetness.
Yield: Serves 8 
OATMEAL APPLE CRISP

Ingredients:

1 cup brown sugar
1 cup rolled oats
1 cup all-purpose flour
1/2 cup butter, melted
3 cups apples - peeled, cored and
chopped
2 teaspoons white sugar
2 teaspoons ground cinnamon

 Directions:
  1. Preheat oven to 350 degrees F (175 degrees C). Lightly grease an 8-inch square pan.
  2. In a large bowl, combine brown sugar, oats, flour and butter. Mix until crumbly. Place half of crumb mixture in pan. Spread the apples evenly over crumb mixture. Sprinkle with 2 teaspoons white sugar and cinnamon and top with remaining crumb mixture.
  3. Bake in the preheated oven for 40 to 45 minutes, or until golden brown.
 Recipe adapted from here


Apple Crisp originated in the US. Read more about it's history here


Loved it!

Thursday, May 23, 2013

#122 Baked Buffalo Wings


This is a good recipe, easy and quick to make. I loved the firm, well-seasoned crunchy skin of the baked buffalo chicken wings. It is so spicy good. I made the dip using Greek yogurt, minced garlic and chopped fresh parsley.

BAKED BUFFALO WINGS


Ingredients:

3/4 cup all-purpose flour
1/2 teaspoon cayenne pepper
1/2 teaspoon garlic powder
1/2 teaspoon salt
20 chicken wings
1/2 cup melted butter
1/2 cup hot pepper sauce

Directions:
  1. Line a baking sheet with aluminum foil, and lightly grease with cooking spray. Place the flour, cayenne pepper, garlic powder, and salt into a resealable plastic bag, and shake to mix. Add the chicken wings, seal, and toss until well coated with the flour mixture. Place the wings onto the prepared baking sheet, and place into the refrigerator. Refrigerate at least 1 hour.
  2. Preheat oven to 400 degrees F (200 degrees C).
  3. Whisk together the melted butter and hot sauce in a small bowl. Dip the wings into the butter mixture, and place back on the baking sheet. Bake in the preheated oven until the chicken is no longer pink in the center, and crispy on the outside, about 45 minutes. Turn the wings over halfway during cooking so they cook evenly.
Recipe adapted from HERE

Buffalo wings were created in Buffalo, New York. The residents of Buffalo generally refer to them as "wings" or "chicken wings" rather than "Buffalo wings," but never "hot wings."  There are five different stories about Buffalo wings' history. All remains unsubstantiated. Teressa and Frank Bellissimo claimed they made the first Buffalo Wings in Anchor Bay at this bar that they owned. The Bellissimos said that they was a mis-delivery of wings instead of necks and backs for their spaghetti sauce, so they made use of the chicken wings surplus that they had. Teressa then made the chicken wings to her patrons during a harsh snow storm in Buffalo and her son's college friends upon a late night arrival. A man named John Young claims credit for serving breaded chicken wings in a special "mambo sauce" a specialty at this restaurant during the 1960', which he registered as John Young's Wings 'n Things. READ MORE FROM OUR SOURCE

Thanks to whoever first made it. It's delicious!

Wednesday, May 15, 2013

#108 Mongolian Beef


I saw this in a recent Cooking Light's 300-calorie main dishes magazine, and had to cook it A.S.A.P. Just like everybody else, I love tasty meat dishes and  this is definitely a good recipe to use. I liked this dish because of the delicious mix of the strong flavors from the garlic, ginger and the sambal oelek. We omitted the peanut oil, and it still tasted amazing! It's a great mix of sauce, tender meat, scallions and seasonings. It cooks fast, has a flavorful exotic taste, has a little spicy kick to it, just the way I like it. I learned another great way to cook beef. Yum!
Contrary to popular belief, Mongolian Beef, is not drawn from  Mongolian Cuisine. Some say it originated in the US, where it is served in Chinese-American restaurants.

Yield: Serves 4

MONGOLIAN BEEF


Ingredients:

2 tablespoons lower-sodium soy sauce
1 teaspoon sugar
1 teaspoon cornstarch
2 teaspoons dry sherry
2 teaspoons hoisin sauce
1 teaspoon rice vinegar
1 teaspoon sambal oelek (ground fresh chile paste)
1/4 teaspoon salt
2 teaspoons peanut oil (we used vegetable oil)
1 tablespoon minced peeled ginger
1 tablespoon minced fresh garlic
1 pound sirloin steak, thinly sliced across the grain
16 medium green onions, cut into 2 inch pieces


Directions:
  1. Combine first 8 ingredients; stir with a whisk until smooth.
  2. Heat oil in a large wok over medium-high heat. Add ginger, garlic, and beef; sauté for 2 minutes or until beef is browned. Add onions; sauté for 30 seconds. Add soysauce mixture; cook 1 minute or until thickened, stirring constantly.

Recipe adapted from 2013 Cooking Light Magazine 300 calorie main dishes


A great, easy, 300-calorie dinner!


Tuesday, May 7, 2013

#92 Corn Chowder


Another favorite of ours, is Corn Chowder, a milk or cream based vegetable soup. This dish is very good for kids and well loved by grown-ups too. Corn chowder is an easy dish to make, a little bit sweet, light but filling. I remember this is what we made at one of our home economics classes in high school back in PI, our teacher Mrs. Olandria loved it, I still remember that day, it was a simple recipe that I found in a recipe book that my mom bought and I remember using alpine evaporated milk as a substitute for fresh milk, which was hard to come by back in the days. Chowders are not widely consumed back then also because we like clear soups made with fresh seafood or other meats. It took me a while to develop a liking for cream based soups, and this is one of the very first ones I fell hard with. It is thick and just delicious. She loves helping out in the kitchen so I let her make most of the soup, with my help of course. We had a lot of fun and loved having it for our weekend lunch :)


Yield: Serves 4

CORN CHOWDER 


Ingredients:

1 medium onion
1 small clove garlic
2 medium potatoes
1 tbsp. butter
3 cups vegetable broth
1/2 cup milk
1 can of corn, about 7 ounces, drained
1/3 cup heavy cream


Directions:
  1. Chop onion finely, crush the garlic, and peel and cut the potatoes into small cubes.
  2. Melt the butter in a large saucepan. Cook the onion and garlic very gently for 10-12 minutes, until soft.
  3. Add the potato cubes, broth , and milk. Bring the mixture to a boil, then reduce the heat and simmer, partly covered, for 15 minutes.
  4. Add the corn and simmer (again, partly covered) for 5 to 10 minutes more, until the potato is  soft. If the mixture feels very thick, add 2 or 3 tbsp. hot water.
  5. Turn off the heat. Leave the mixture to cool, then put half aside in a bowl. If you have a hand blender, blend the remaining half in the saucepan until smooth. (Otherwise, puree it in a blender and return it to the saucepan.)
  6. Add the soup in the bowl to the soup in the saucepan and stir in the cream. Reheat gently to serve.
  7. Sprinkle dill on top for flavor and color. You can also sprinkle crumbled crackers or bread with it.

Recipe adapted from the book: You can cook by Annabel Karmel


Chowder has many variations, usually made with seafood and vegetables, it originated in the New England region of the  US. The New England Clam Chowder is the most popular and widely consumed in Maine, New Hampshire, Vermont, Massachusetts, Rhode Island, and Connecticut and Atlantic Canada. Corn Chowder is our favorite of all.


Fresh dill adds a nice flavor to it so I put a lot in mine, try it! :)


Saturday, April 27, 2013

#81 Delicious egg-less cake: Chocolate Butterscotch Pudding Cake


If you like chocolate pudding, ice cream and chocolate brownies,  you will love this. You'll have a taste of all three in one bite. And no eggs required! Since it's not a usual cake, I followed the recipe to the letter. I was excited! Right before baking it, I had a feeling there was something wrong with the mixture..too watery. I checked the cup that I used to measure the hot water and OMG, it was a 1/4 cup. I thought I grabbed the 1/2 cup! What was I thinking! Why didn't I use the 1 cup that was used for the flour and instead grabbed a smaller measuring cup, and then I poured 1 1/2 cups of hot water instead of  the required 1 1/4 cups! Ugh!! For a minute I thought I should just start all over again, but instead of throwing it, I used the mixture anyway as an experiment, I was curious to see what a cake disaster looks like. So I put it in the oven,  after 35 minutes, it was boiling..LOL. After an hour in the oven, it looked like it's finally set, and because I was using a glass baking dish, I could see the pudding under the layer of cake. I'm glad I didn't throw the mixture away. A new butterscotch pudding cake recipe with so much moist is discovered.  What a pleasant surprise! :)


CHOCOLATE  BUTTERSCOTCH PUDDING CAKE


Ingredients:

1/2 cup granulated sugar
1 cup all-purpose flour
1/4 cup cocoa powder
1/4 teaspoon salt
1/2 cup milk
1/3 cup butter, melted
1 1/2 teaspoons pure vanilla extract
1/2 cup butterscotch morsels

Topping:

1/2 cup brown sugar
1/4 cup cocoa powder
1 1/2 cups of hot water


Directions:
  1. Preheat oven to 350 F degrees.
  2. Combine the first 8 ingredients in a baking pan or glass dish. (I used a round glass baking dish). Mix well.
  3. Combine in remaining 1/2 cup brown sugar and 1/4 cup cocoa powder. Sprinkle on top of the cake mixture.
  4. Pour hot water on top. DO NOT STIR OR MIX. Bake for 1 hour.
  5. After baking, let stand for 25 minutes. Serve with your favorite ice cream.


 butterscotch morsels 


Crunchy chocolate brownie on the topmost layer, a soft cake in the middle and then a rich pudding at the bottom. 
Top with a slow-churned vanilla ice cream. Delicious!


Thursday, April 25, 2013

#76 Good morning Blueberry Muffin!


Delicious muffins with the freshest blueberries, baked from scratch. Another first for me. Yum! You make it in the morning, and the smell lingers all day. I'm proud that I made it for us. Every day we discover how to make foods that we once only bought, because we thought it was cheaper to buy than cook, and because I did not think I can create a better one. I was wrong. I realize you get what you pay for. I certainly paid very little for the enjoyment, the aroma that floats around the house, and the organic ingredients. Making it is definitely better. And it's not difficult at all. The smell of the batter while it's cooking until it is done in the oven is amazing. Love, love this whole experience. Absolutely to die for Blueberry Muffins!


Yield: 6 big muffins

BLUEBERRY MUFFINS

Ingredients:

1 1/2 cups all-purpose flour
3/4 cup white sugar
1/2 teaspoon salt
2 teaspoon baking powder
1/3 cup vegetable oil
1 egg
1/3 cup milk
1 cup fresh blueberries
1/2 cup white sugar
1/3 cup all-purpose flour
1/4 cup butter, cubed
1 1/2 teaspoons ground cinnamon


Directions:

  1. Pre-heat oven to 400 degrees F. Grease muffin cups of line with muffin liners.
  2. Combine 1 1/2 cups flour, 3/4 cup sugar, salt and baking powder. Place vegetable oil into a 1 cup measuring cup; add the egg and enough milk to fill the cup; add the egg and enough milk to fill the cup. Mix this with flour mixture. Fold in blueberries. Fill muffin cups right to the top, and sprinkle with crumb topping mixture.
  3. To make crumb topping: Mix together 1/2 cup sugar, 1/3 cup flour, 1/4 cup butter, and 1 1/2 teaspoons cinnamon. Mix with fork, and sprinkle over muffins before baking.
  4. Bake for 20-25 minutes in the preheated oven, or until done.
Recipe adapted from Allrecipes.com


Muffins originated in the United States, often eaten for breakfast but can also be served for tea or as a dessert .


#72 Chocolate Raisin Rice Krispies Treat


We created this dessert using Chocolate Rice Krispies Cereal. It takes a few minutes from start to finish, inexpensive- the 6 cups of cereal yielded 15 little squares. The raisins added more sugar to it but also added a good flavor. Very easy and fun to make, home made certainly tastes better! We like it!


CHOCOLATE RAISIN RICE KRISPIES TREAT

Ingredients:

1/4 cup butter
10 ounces marshmallows
6 cups of rice krispies cereal
1 cup of raisins

Directions:
  1. Butter a wide baking pan or dish, set aside.
  2. In a large microwaveable bowl, combine butter and marshmallows. Microwave on high for 2-3 minutes. Stir.
  3. Quickly add rice krispies cereal and raisins. Mix well.
  4. Spread into buttered pan or dish. Let stand or chill. Cut into squares.


Rice Krispies Treats were first created by Malitta Jensen and Mildred Day at the Kellogg Company home economics department in 1939 as a fund raiser for Camp Fire Girls, now known as Camp Fire.

 
It's great! Kids love it, and they will also love helping out in the kitchen!


Monday, April 22, 2013

#70 Delicious Chocolate Brownie

Last weekend we made brownies. We searched for recipes online and easily found a great one! No wonder it has 4.5 stars out of 5,004 reviews. It is light, not overly sweet, and it is fudgy in the middle. I omitted the frosting from the original recipe because, I thought the brownie itself was sweet enough for our taste when I tried it, just as I was about to frost it. It was really easy to make too. I made brownies before, but using a ready-mix store bought one. It is sometimes sold at a great deal - for a dollar each! While the finished product was good from the box we chose at one time, we had more fun making this dessert from scratch,  measuring and learning how much of each ingredient is needed to make a fantastic brownie.


CHOCOLATE BROWNIE


Ingredients:

1/2 cup butter
1 cup white sugar
2 eggs
1 teaspoon vanilla extract
1/3 cup unsweetened cocoa powder
1/2 cup all purpose flour
1/4 teaspoon salt
1/4 teaspoon baking powder 


Directions:
  1. Preheat oven to 350 degrees F. Grease and flour an 8 inch square pan.
  2. In a large saucepan, melt 1/2 cup butter. Remove from heat, and stir in sugar, eggs, and 1 teaspoon vanilla. Beat in 1/3 cup cocoa, 1/2 cup flour, salt and baking powder. Spread batter into prepared pan.
  3. Bake in preheated oven for 25 to 30 minutes. Do not over cook.
Recipe adapted from Angie, contributor at allrecipes.com


Chocolate Brownie is an all-American square dessert which originated in Chicago, Illinois at the end of  19th century. A chef at the Palmer House Hotel created it for a socialite named Beth Palmer, upon her request for a dessert that is smaller than a cake, retaining cake-like characteristics and should be easy to eat from lunch boxes. The brownie was created with apricot and walnut glaze, and still being made at the  hotel using the original recipe. Who first created it is unknown, although there are three myths mentioned in history. Many thanks to the creative hands of the one who invented it, this delicious dessert made our day.  Read more from our online source here

I would also like to share very good news. As I have mentioned in one of my previous posts, we have serious food allergies in the family, my daughter was tested and found to be highly allergic to egg whites, seafoods and all nuts. But now one of our allergies must be disappearing! I tried making pancakes first using whole eggs a few months ago, and my little one did not have an allergic reaction. I did this because I read this article about a strategy called oral immunotherapy a while ago which, according to research can help cure or lessen a child's allergic reaction to eggs. I made her "special" foods and slowly fed her whole eggs in small doses, and only when added to pastries. And no reaction so far! It is such a relief to see her body reacting normally to a food which was once toxic to her. I am still scared to even try to feed her straight eggs, seafoods and all nuts-the last two are the most dangerous for her. I feel bad for her not being able to eat those foods, I hope it disappears over time. But now, I am very happy that finally, she can eat cakes with both the egg white and yolk now. :)


Looks and tastes delicious. :)  And it is true, good food and joy come to those who cook! It added more sweetness to our home, literally because the ants paraded in the kitchen the next morning, and figuratively speaking, because cooking is such a sweet activity to do together. If you like this recipe, or have a better recipe to share, leave a comment below, I would love to read it!