Showing posts with label *Dessert. Show all posts

Monday, January 16, 2017

#175 Sugar-Free Chocolate Mousse Cake


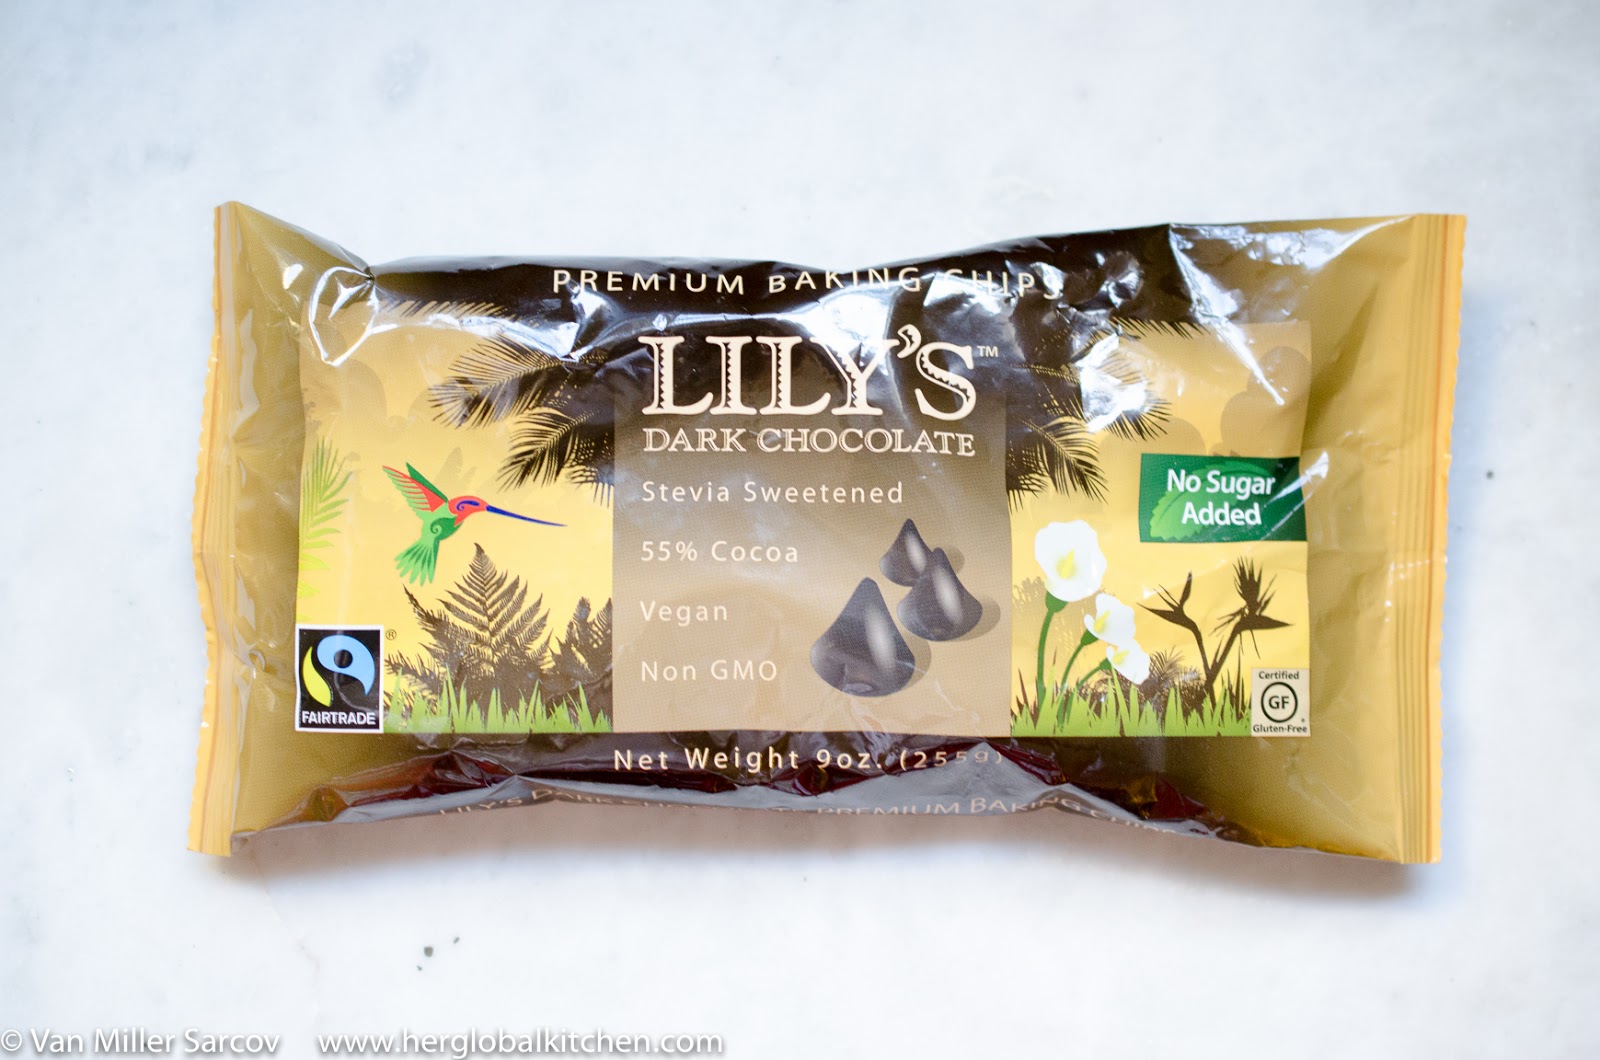
I love Chocolate Mousse! When I started looking for good recipes, I found out it's made of sugar, cream, chocolates of course and egg whites , but, what I didn't know is, that I can actually make a sugar free chocolate mousse cake using this bag of chocolate chips pictured below, and omit the eggs! Ready to make it too? Find recipe below....


SUGAR-FREE CHOCOLATE MOUSSE CAKE

Ingredients: 
16 ounces or 4 cups of heavy whipping cream
12 ounces of premium baking chocolate chips stevia sweetened (I used more than 1 bag of Lilly's dark chocolate)
1 teaspoon vanilla extract
pinch of salt

Directions:
  1. In a medium bowl, combine 1 cup of cream, vanilla extract, chocolate chips and salt. Melt chocolate with all ingredients in a double broiler. Stir. Once chocolate is melted and the mixture is smooth, transfer to bowl, and let cool to room temperature, stirring occasionally. 
  2. In a large bowl, using an electric mixer, beat 2 cups of chilled cream. Beat until a stiff peak forms. Add in the cooled chocolate mixture.
  3. Transfer mixture to a pie plate and chill for at least 6 hours.
  4. Before serving, beat the remaining 1 cup of heavy whipping cream until a stiff peak forms. Serve it with pie. Enjoy!


Chocolate Mousse originated from France in the 1800s. The basic ingredients of THE  original chocolate mousse are: chocolate, egg whites and sugar.  I plan to make "mousse au chocolat" next winter holidays. For the next several months, I will skip the sugar.  
Hope you enjoyed this post! If you did, follow this blog as we will be posting 190 more recipes! 190 recipes to discover, learn to cook, take pictures and share to complete the goal of 365! 
Will I finish this task? Check back often to see my progress! xo Van


Sunday, January 15, 2017

#174 Vasilopita : Greek New Year's Cake


Happy New Year 2017!  It has been a while! I am happy to be back and cooking again. I want to dedicate more time to writing this year. What a crazy busy year 2016 was for me and I am very, very glad that it is DONE! So, cheers to a year of many changes, to abundance, to a year of being a better version of me, a year of great food and, maybe completing this project? Cheers to a new year of enjoying love and life to the fullest, to exploring the world right here in our kitchen and to actually visit countries that we've never been and where we will explore local dishes! I am excited to get closer to the goal of 365 items this year, it's not an easy feat with my schedule but I will try my very best. One thing I realized that I missed since my last posting in January of last year (wow, that long ago!),  is not only learning how to cook more dishes but, missing out on the fun in discovering each plate of food's origin with my daughter, and I really regret that I let my daily stresses get the best of me, and that I just let the year pass by choosing not to write and forgetting the very reasons why I started this blog almost 5 years ago. It has truly brought nothing but positive things into our lives,  it enriches my vocabulary with each post since English is my second language, it really has taught me how to cook and be better at it, and, most importantly, it created lasting sweet memories that I plan to put in print once I complete the goal of 365. It's also great how this blog has become very useful to me, for example, if I want to bake a cake, I just go on google search and type in "herglobalkitchen cake"  and google gives me results of recipes from this blog that I know works because I tried it! It also relaxes me every time I read it because it takes me back to that great day I discovered, and actually learned to cook and really fed the family a new and fantastic dish from another country! What a great feeling each time, all positive, all smiles and it brings me so much joy. So, it is time to create new happy memories at our global kitchen! 
So, what have I made so far this year? Desserts! I made it on New Years Eve. New Years Day is a special holiday for me and so I make a LOT of food. Now you know where to find Van on December 31st of every year! Her global kitchen! I cook all day, and plan days and days before, it's not even funny. Since becoming a mom, my "NYE parties" has always been in my fun kitchen. I do put on make up, fix my hair and dress up for my NYE cooking party, but never leave the house! LOL. This year I made desserts that turned out great! One of them is this famous cake in Greece that is made and served in homes every New Year's Day, traditionally the baker inserts a lucky coin in the cake.  Each member of the family gets a slice, the youngest member is served first and whoever gets the coin is believed to be lucky all year long! Vasilopita or Vaselopita, is a cake that pairs  very well with coffee. It is so good, very moist, every one loved it! I will make and enjoy it again on New Years Day in 2018! 


VASILOPITA (Greek New Year's Cake) 

Ingredients:
1 cup butter
2 cups white sugar
3 cups all purpose flour
6 eggs
2 teaspoons baking powder
1 cup warm milk
1/2 teaspoon baking soda
1 tablespoon fresh lemon juice
2 tablespoons white sugar
Directions:
  1. Preheat oven to 350 degrees F (175 degrees C). Grease a 10 inch round cake pan
  2. In a large bowl, or in a mixer,  cream the butter and sugar together until light and well mixed. Add the flour and mix until the mixture is mealy. Then, carefully add the eggs one at a time, mixing well after each addition. In a separate medium bowl, combine the baking powder and milk, add to the flour and egg mixture, mix well. In a small bowl,  combine the lemon juice and baking soda, stir into the batter. Pour into the prepared cake pan.
  3. Bake for 20 minutes in the preheated oven. Remove and sprinkle sugar over the cake, then return it to the oven for 20 to 30 additional minutes, until cake springs back to the touch. Gently cut a small hole in the cake and place a quarter in the hole. Try to cover the hole with sugar. Cool cake on a rack for 10 minutes before inverting onto a plate.
  4. Best when served warm, but it is also delicious even when the cake has cooled down. Enjoy!


Adapted from: http://allrecipes.com/recipe/15723/vaselopita---greek-new-years-cake/


My friends, I wish you and your family a sweet, delicious, joyful, bright, healthy, prosperous and happiest new year ahead! 

If you enjoyed this post, follow this blog as we will be posting 191 more recipes! 191 recipes to discover, learn to cook, take pictures and post here to complete the goal of 365!  
Will I finish this big task? Check back often to see my progress! xo Van 


Saturday, January 16, 2016

#166 Apple Pie


My daughter believes that every body loves apple pie, because it is too good! The marriage of cinnamon, nutmeg, tart apples and sugar is simply irresistible. I made my grain-free and crust free version of "apple pie" after I made this but gobbled it  all even before I could take pictures! LOL!  My daughter loved this recipe and this was my first time making it! The lattice work upper crust was a little bit challenging, but with a lot of patience, it looked like this in the end:


If it's your first time, making it look like this can be tricky in the beginning, but you will soon figure it out. It reminded me of my days back in the islands. Every summer, the neighborhood kids (myself included), gathered to build a makeshift shelter from twigs and fallen coconut leaves. There were no video games, no good shows on TV, so we went out to entertain ourselves. We wove the coconut leaves to create walls, and roof and then we'd attach it to a small tree, we worked for days until it's complete and then we'd boil bananas in there too using fire and pots, our aunties and maids hoping we don't start a huge fire in smoldering and humid 100+ F degree weather... Fun times. That experience came handy as I was trying to figure out how to make lattice apple pie crust. :) I used my fingers to create the patterns on the edges. 


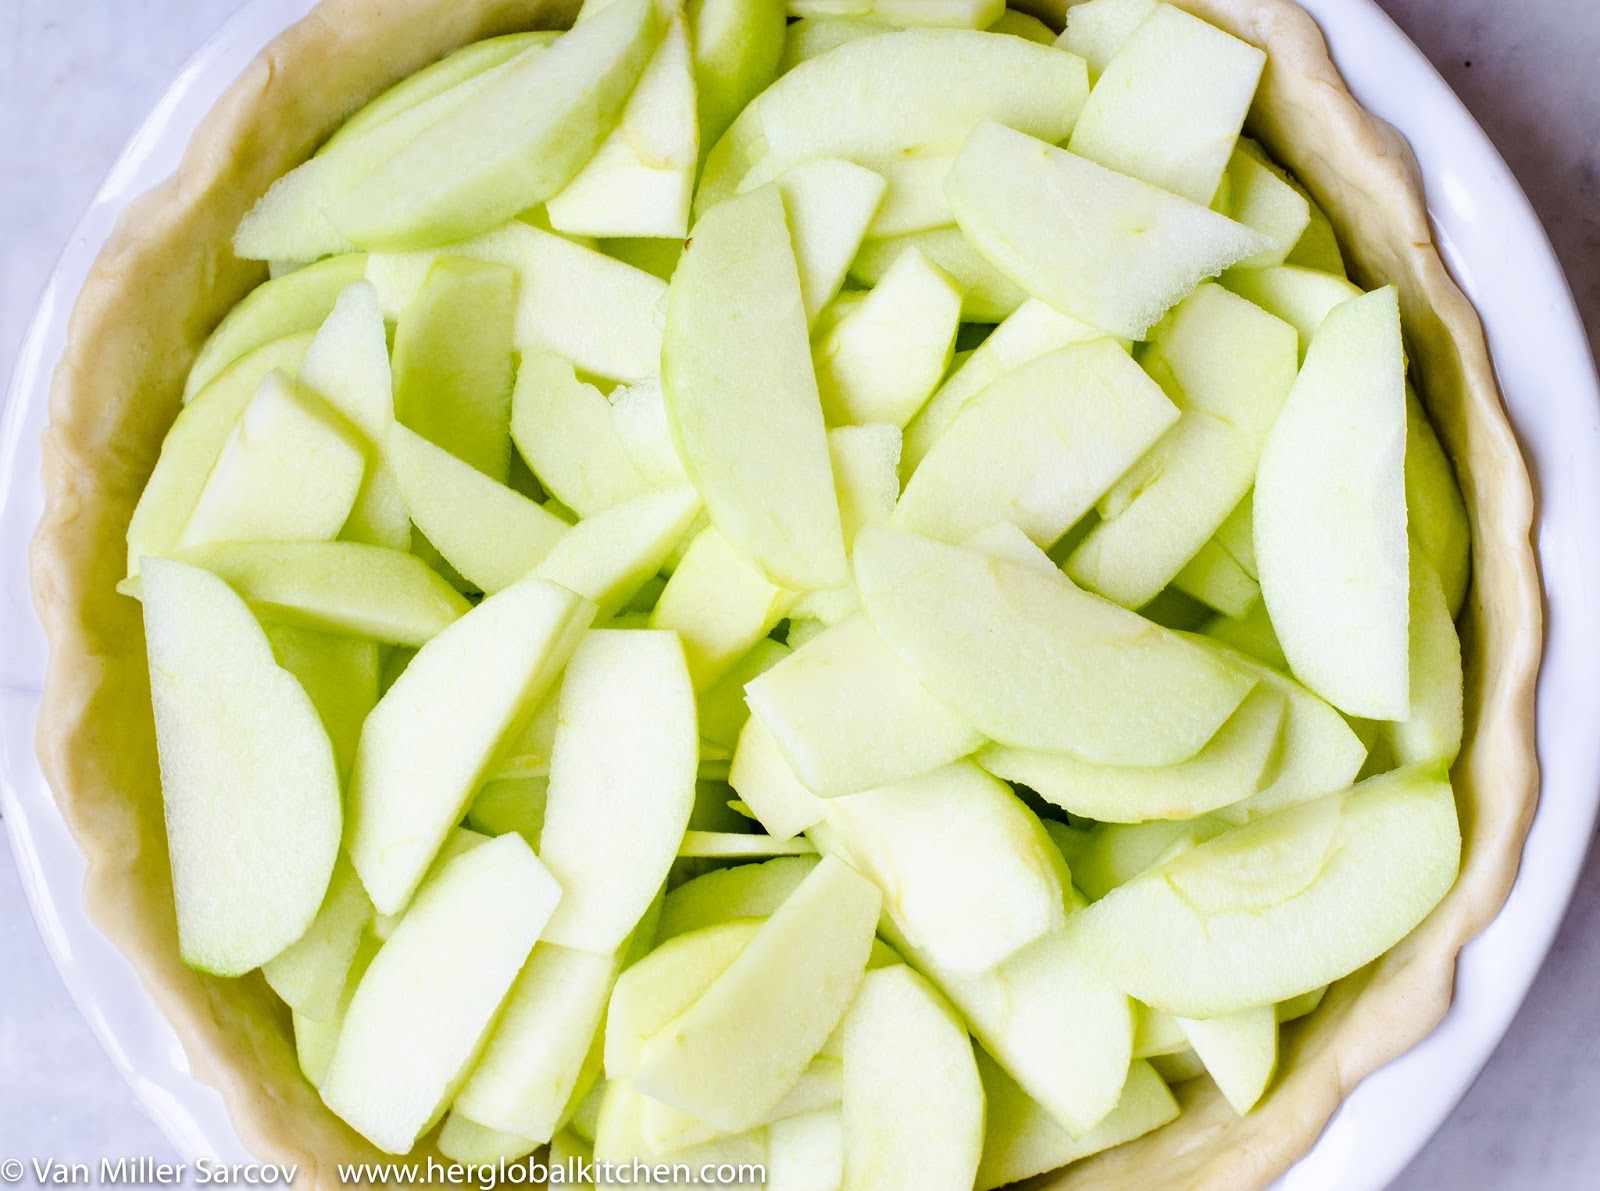
It is suggested to use tart apples for Apple Pie. Or ones that are considered "culinary apples", they are more acidic and crispier. Examples are: Bramley, Empire, Northern Spy or Granny Smith. I chose organic Granny Smith apples for this pie because among the list, it was the only one available at Safeway, and although I used the organic variety, it is not necessary that you buy organic. I just choose to eat organic as much as possible.


I also learned that there are different styles of Apple Pie. The traditional Dutch Apple Pie comes in two varieties: a crumb, and a lattice style pie.  A recipe in the late medieval Dutch cookbook 'Een notabel boecxken van cokeryen' is almost identical to modern Apple Pie recipe such as the one I used. Dutch apple pies may contain: full cream butter, raisins and almond paste. Those are not used in this pie.  There are also the English Pudding Style, French Style, Swedish Style and American Style. I will have to do more research on the different varieties. Read more here, but the information on that website may not be completely accurate...please feel free to leave a comment to educate us on the history of apple pie. We'd appreciate it!


And guess what? We found an organic ready-made pie crust at Safeway! It made the process of learning so much easier. I still have not invested in a KitchenAid mixer, a staple in every enthusiastic cook's kitchen. So making my own crust from scratch seemed daunting at the time. We grabbed and used this, and my daughter said, "It tasted like normal crust". :)


Okay,  are you ready to make your own apple pie? Here's how:

APPLE PIE 
Ingredients: 
2 ready made rolled crusts (1 box) for 9" pie
1/2 cup unsalted butter
3 tablespoons all-purpose flour
1/4 cup water
1/2 cup white bakers sugar
1/2 cup baked brown sugar
3/4 teaspoon ground cinnamon
1/8 teaspoon ground nutmeg
8-10 granny smith apples 
Directions:

  1. Preheat oven to 425 F.
  2. Peel, core and slice the apples. In a large bowl, place apples, sprinkle cinnamon and nutmeg and mix well, making sure all apples are well-coated.
  3. In a pan, add butter in low heat. Once melted, stir in flour.
  4. Add water, white and brown sugar and bring to boil. Reduce heat and let simmer for about 3 minutes or until sugar is melted.
  5. In a 9" pan, place the bottom crust. Add the apples, pile up slightly.
  6. Cover with a lattice work crust.
  7. Pour the melted butter and sugar over the crust carefully.
  8. Bake for 15 minutes at 425 F, then reduce the temperature to 350 F and then bake for another 40 minutes or until the apples are soft.
  9. Serve warm and enjoy with Vanilla Ice cream (highly recommended!)


It is so easy to make, it is the first of many!
If you enjoyed this post, follow this blog as we will be posting 199 more recipes!199 recipes to discover, learn to cook, take pictures and post here to complete the goal of 365!
 Will I finish this big task? Check back often to see my progress!

xo V.

Saturday, January 2, 2016

#162 Three-Ingredient Japanese Cotton Cheese Cake


I saw this from Ochikeron's You Tube channel. I made this several times now and I am too excited to make this dessert again! It only has three ingredients and is gluten and grain-free!
If you are beginner cook, it is not a simple dessert to make, but it is not too difficult, especially the second time. Tip: make sure that you follow the instructions to prevent it from cracking and browning. The result is a delicious cheese cake that you and your family will love!

THREE-INGREDIENT JAPANESE COTTON CHEESE CAKE:

Ingredients:

  • 1 1/2 white chocolate baking chips
  • 6 large eggs, at room temperature
  • 1 block (8 oz.) cream cheese at room temperature

Directions:
  1. Preheat oven in 340 F.
  2. In a large microwave oven safe bowl, melt chocolates in microwave oven in 20-second increments until melted.
  3. Separate egg white and yolk, place the egg white in a large steel bowl, the yolk in a small bowl.
  4. Once chocolate is melted, add the cream cheese and yolk, mix well until smooth. Set aside.
  5. Whip egg white until it forms a soft peak or meringue, you know when it is ready if you can turn your bowl upside down and the egg white sticks to the bowl.
  6. Add the meringue to the chocolate-egg mixture, in batches, until it is combined. 
  7. Line a 4-inch baking pan with parchment paper in the bottom, to prevent it from sticking and on the side-to prevent cracking (this is very important, see Oicheron's video on how to)
  8. Pour the mixture in the lined baking pan. Drop it gently twice to let air bubbles out.
  9. In a separate, bigger baking pan, add water, and then place the pan with the cake mixture on top. (if you are not sure how to do this, see Oicheron's video on youtube)
  10. Bake at 340 F for 15 minutes.
  11. Lower temperature to 320 F and bake for another 15 minutes.
  12. Turn the oven off, and leave the cake in the oven for another 15 minutes then remove from oven.
  13. Let cool or chill, enjoy!


     I'm so happy I learned how to make a delicious grain and gluten free dessert! I hope you enjoy this one too!

Sunday, October 4, 2015

#155 Eggless Tapioca Pudding


I love to eat pudding as a dessert or a savory dish. The word pudding is believed to come from the French word boudin , originally from the Latin botellus, meaning "small sausage". Where did it originate? Nobody really knows where exactly, but the British claim it as part of their culinary heritage. 
I make ahead a couple or jars or two, this helps a lot during my busy week day schedule. It keeps in the fridge for 7 days with no problem! :) 

This is so easy to make. We omitted the eggs, and so this pudding only has 3 ingredients. Ready?
EGGLESS TAPIOCA PUDDING 
INGREDIENTS: 
  • 1/4 cup tapioca pearls
  • 3/4 cup water
  • 2 1/4 cups milk
DIRECTIONS:
  1. Soak tapioca pearls for about 30 minutes. Do not drain.
  2. Add milk, cook in medium heat until boiling then simmer in lowest heat for 15 minutes, or until done. 
  3. Sweeten to taste, or add fruits to sweeten. Enjoy!


Buy your Tapioca Pearls on Amazon.com, just click on the image below:


Wednesday, June 19, 2013

#144 Spiral shortbread


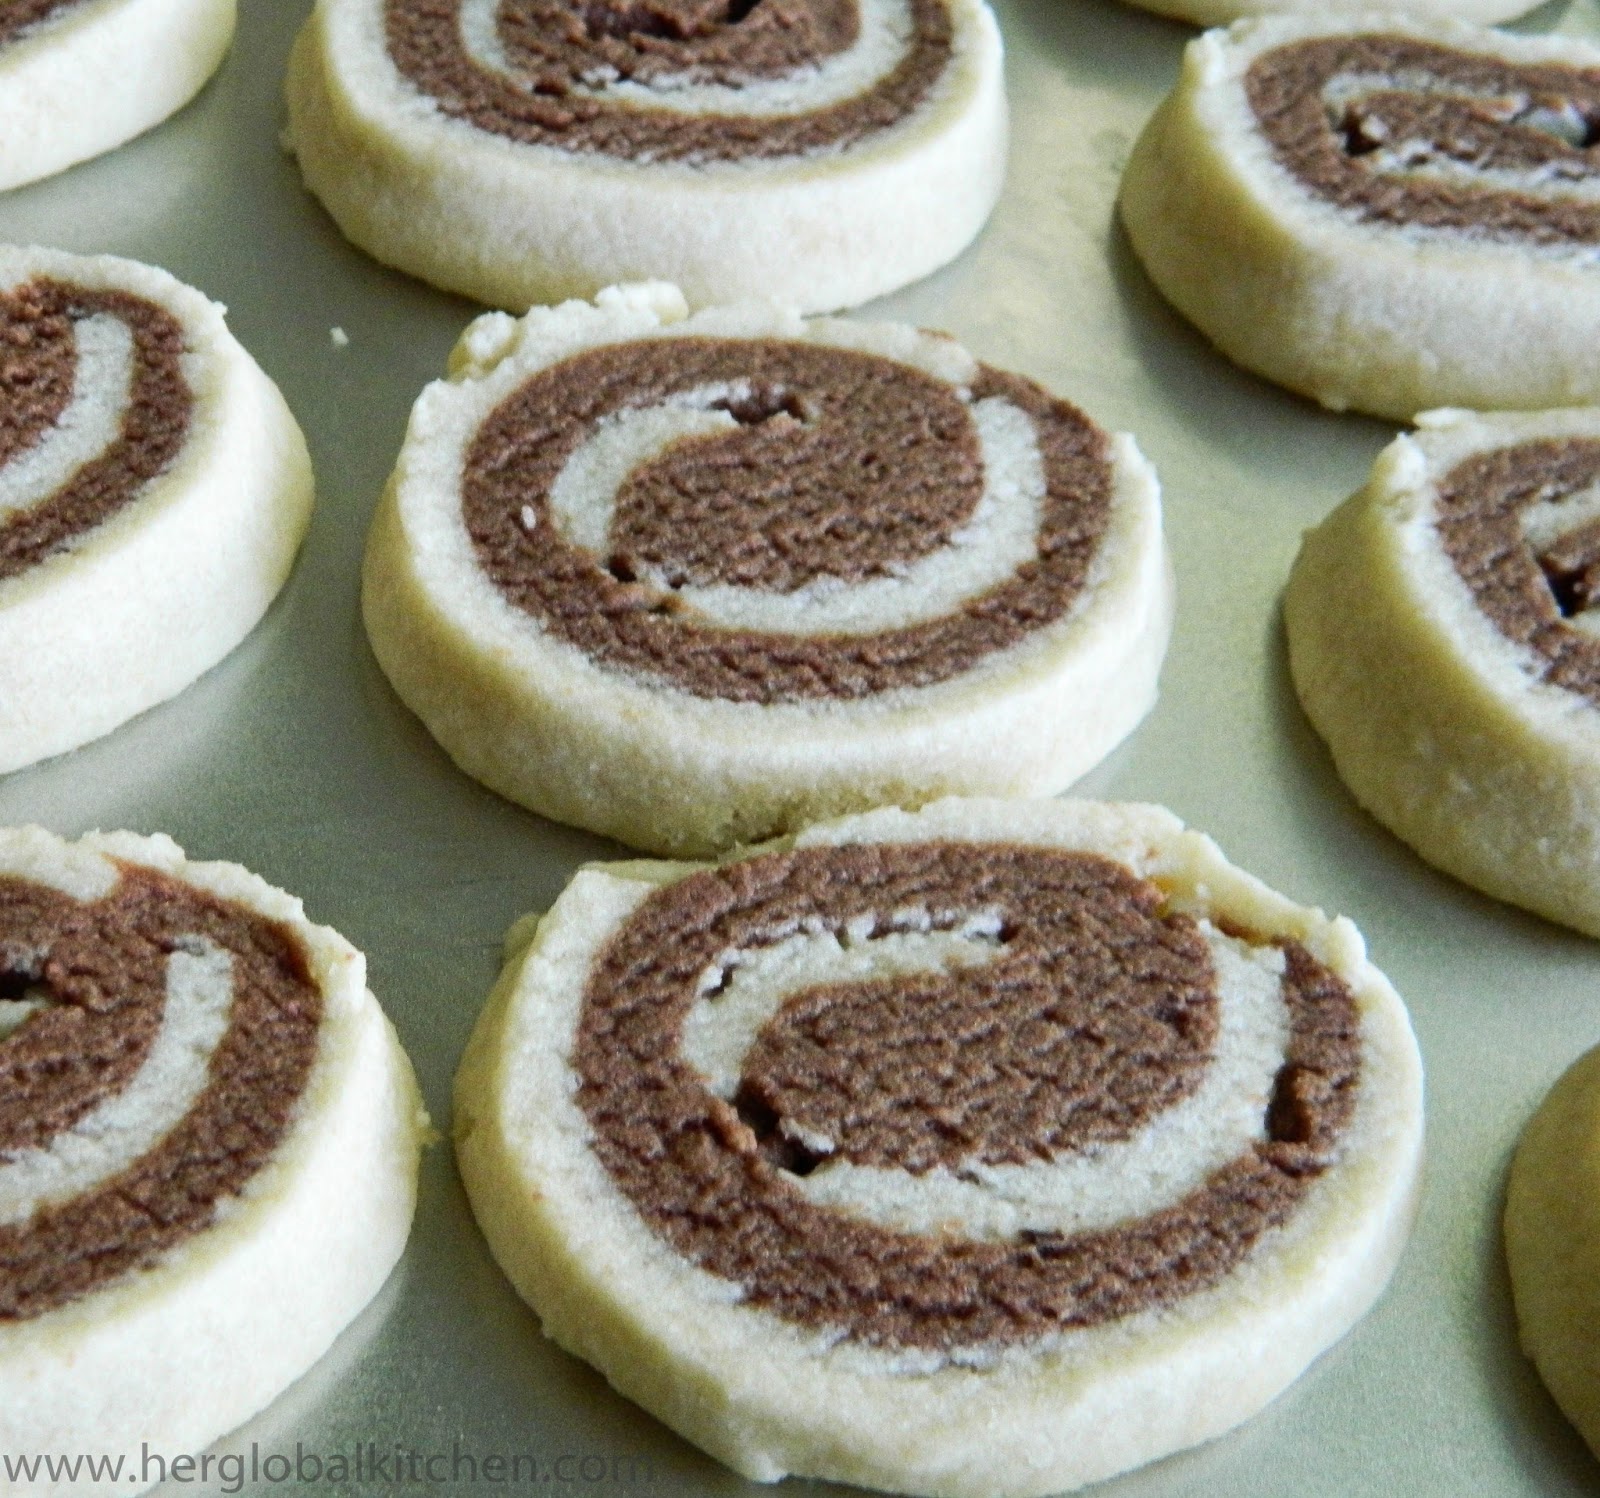
We found a children's baking book by Sara Lewis in the library and we instantly fell in love with the spiral shortbreads featured in the book. Of course we had to  make it and we had so much fun! A very simple recipe, we loved the pretty pattern after we cut the roll. We both liked how it was not overly sweet like the regular cookies. We made different shapes from the scraps, marbled butterflies and hearts. :) This is a really good recipe to bake with kids. We will make many more in the future.

Yield: 16 pieces

SPIRAL SHORTBREAD

Ingredients:
2 tbsp unsweetened cocoa pwd
1 tbsp boiling water
1 cup butter - at room temperature
2.5 cups all-purpose flour
1/2 cup superfine sugar
1 tsp vanilla extract

Directions:
  1. Dissolve the cocoa powder in the boiling water until smooth.
  2. Mix the butter, flour and sugar into a crumbly mix. Divide equally between 2 mixing bowls.
  3. In one bowl, add the vanilla extract. Knead well and set aside
  4. Add the cocoa paste to the other bowl and knead well, until the chocolate blends well into the flour mixture, the more you knead, the darker the dough color will be.
  5. Roll out the two doughs between 2 sheets of parchment paper into 8 inch squares each.
  6. Carefully place the cocoa dough over the vanilla dough. Roll the two together as tightly as possible.
  7. Chill for 15 mins. In the meanwhile, preheat oven to 325 F degrees.
  8. Cut the rolls into about 16 slices. Place on ungreased baking sheet and bake for about 10 minutes. Cool on the baking sheet before serving.


Shortbread is a classic Scottish dessert that is made with flour, butter and sugar and is baked at a low temperature to avoid browning. It was an expensive luxury and for ordinary people, shortbread was a special treat reserved just for special occasions such as weddings, Christmas and New Year. In Shetland, it was traditional to break a decorated shortbread cake over the head of a new bride on the threshold of her new home. It has been attributed to Mary, Queen of Scots, who in the mid-16th century was said to be very fond of Petticoat Tails, a thin, crisp, buttery shortbread originally flavoured with caraway seeds. Read more from our source here

(^^,)

#143 We made delicious Donuts for the first time! Move over, Krispy Kreme!


Goodness,  how delicious it was! I am craving for it.  My advice to first time donut makers who will use the recipe I will share? Eat in moderation (if you can) or say goodbye to your low fat diet. Lol. This recipe yields many, soft, sweet, tempting and  amazing donuts. It is easy to make, but requires patience since it is yeast based, so it will take a few hours to finish, but well worth the wait! I learned that a gap of at least 2 inches is needed between the donuts during the second proofing. Mine grew too big and stuck with each other so I had to punch it down and formed it again before adding it in oil. I didn't think it would turn out alright since I did that last minute dough punching, but it expanded once it is fried and huge donuts came floating before  my eyes. It was a happy dance moment. And another thing, do not fry it in temperatures more than 350 F degrees, a candy thermometer is not expensive and it's worth getting or you could end up with a burned donut that is uncooked inside, or  too crispy ones for frying it too long.  I am also posting the recipe for the glaze, I skipped it and used sugar instead, which is how I like my donuts. "Yay, we made our very own donuts", said my adorable fan. It was a great first try, and this recipe will  save me long drives to the donut store whenever she wants it. They say we become our mothers, I totally agree, but I do  feel like I am becoming my grandma Ina Anselma too, my grandma and my mother are two of the most hardworking women I know; Ina, was super creative and made very delicious soft pilipits which she sold in the streets at one point in her life, and she made it everyday. Pilipit is a Filipino twisted fried bread that tastes like donuts. Sometimes it is crunchy on the outside, sometimes really soft. So I always call it twisted donuts. I am nowhere near Ina Anselma's baking skills, I tried making pilipit using this dough but it was so difficult! I need more practice! I am glad I used this recipe for making it the first time, the donuts were excellent, even better than Krispy Kreme! I'm sure if I made the glaze too it would have tasted beyond incredible...isn't this generation so spoiled? we can make any food we want if we are willing to work for it; I cannot imagine living in my grandma's era in her youth, how did she learn to make fantastic donuts and pilipits? And the energy she had to make it every morning!,  kneading by hand before the sun rises so she can sell to the streets in the morning, is amazing. We are very blessed with so much information and technology, and I never forget to give thanks everyday.  :) 

Yield: 39 pieces

DONUTS

Ingredients:

For the donuts:
3 (1/4 ounce / 7g) packages yeast
1/2 cup (120ml) water  (105-115F / 40-46C)
2 1/4 cups (530ml) milk, scalded, then cooled
3/4 cup (169g) sugar
1 1/2 teaspoons salt
3 eggs
1/2 cup (113g) shortening
7 1/2 cups (940g) all-purpose flour
canola oil for frying

For the glaze
1/2 cup (113g) butter
3 cups (375g) powdered sugar
2 1/4 teaspoons vanilla
6 -9 tablespoons (90-135ml) evaporated milk (can substitute regular milk or water for milder flavor)

Directions:
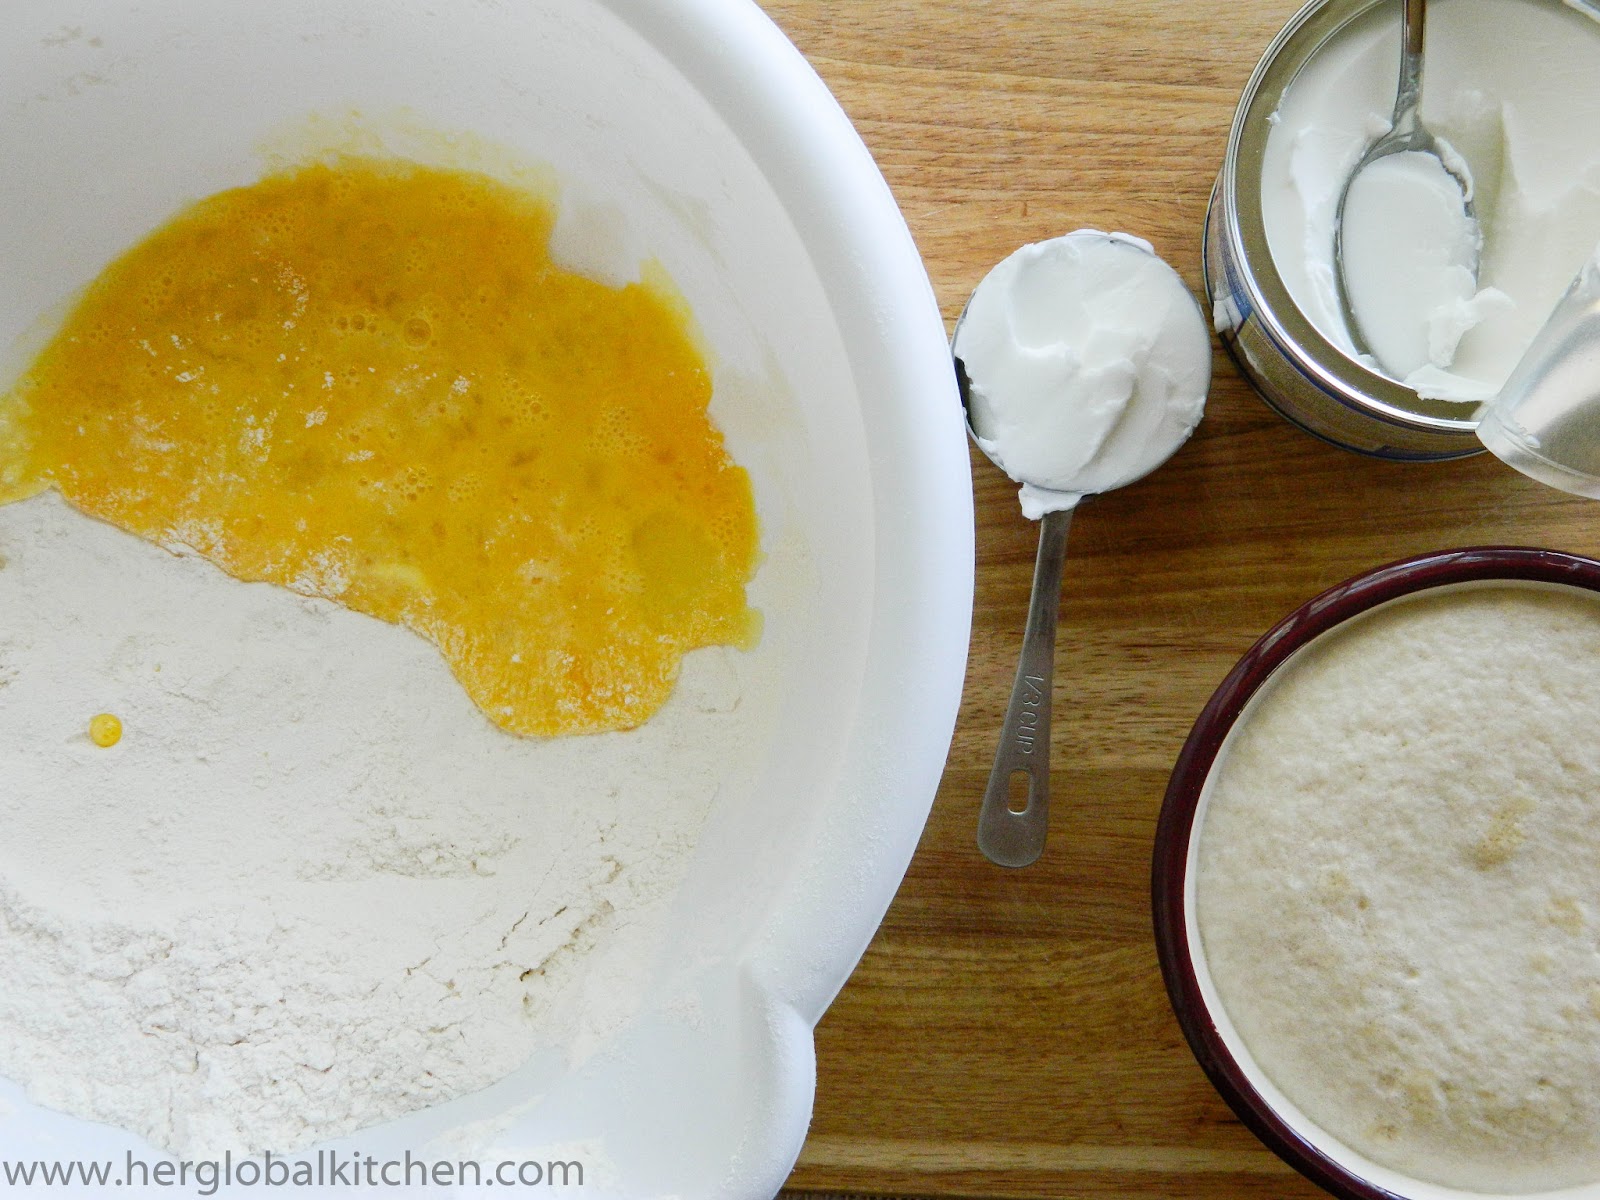
  1. Proof your yeast by adding it to the warm water.  Mix it up and let it rest
  2. Scald the milk in your microwave or on top of your stove, and let cool.  I learned from a baker that the reason you scald the milk is because regular milk has an enzyme in it that will kill the yeast. If you don't scald it first to kill the enzyme, your donuts won't rise.
  3. Combine yeast, milk, sugar, salt, eggs, shortening and 3 cups (375g) flour.
  4. Beat on low for 30 seconds, scraping bowl constantly.
  5. Beat on medium speed for 2 minutes, scraping bowl occasionally.
  6. Carefully, stir in remaining flour until smooth.
  7. Cover and let rise until double for 1 hour
  8. After the dough has risen, turn dough onto floured surface; roll around lightly to coat with flour.
  9. Gently roll dough 1/2-inch thick with floured rolling pin.
  10. Cut with floured doughnut cutter, or using your hands, form a round ball, flatten it, make a hole in the middle and shape it into a donut. (I made mine using hands.) 
  11. Cover and let rise until double, 30-40 minutes.  
  12. Make the glaze: Melt the butter and stir in powdered sugar and vanilla until smooth.  Add milk (or water) until desired consistency is reached.  To make chocolate glaze, melt 6 ounces of chocolate along with the butter.
  13. Heat your oil to 350F (180C).  A thermometer makes this part fool-proof, and you can monitor the heat to make sure it stays in this prime frying range. Even after you take the donut out of the oil, the remaining oil on it is hot enough to continue cooking it! Carefully place the donuts in the oil.  Cook on each side for about one minute.  Use chopsticks to flip the donuts and remove them from the oil.
    Place donuts on a rack or paper bags or paper towels to drain.
  14. Dip them in the glaze and set them on a rack to dry. Or you can coat them in sugar just like what I did.
Recipe adapted from here


 Donuts originated in the United States. Read more


No need to buy donuts! :) This is perfect!